Apply Network Policies
In a production level cluster, it is not secure to have open pod to pod communication. Let’s see how we can isolate the services from each other.
Copy/Paste the following commands into your Cloud9 Terminal.
cd ~/environment/calico_resources
wget https://eksworkshop.com/beginner/120_network-policies/calico/stars_policy_demo/apply_network_policies.files/default-deny.yaml
Let’s examine our file by running cat default-deny.yaml.
Let’s go over the network policy. Here we see the podSelector does not have any matchLabels, essentially blocking all the pods from accessing it.
Apply the network policy in the stars namespace (frontend and backend services) and the client namespace (client service):
kubectl apply -n stars -f default-deny.yaml
kubectl apply -n client -f default-deny.yaml
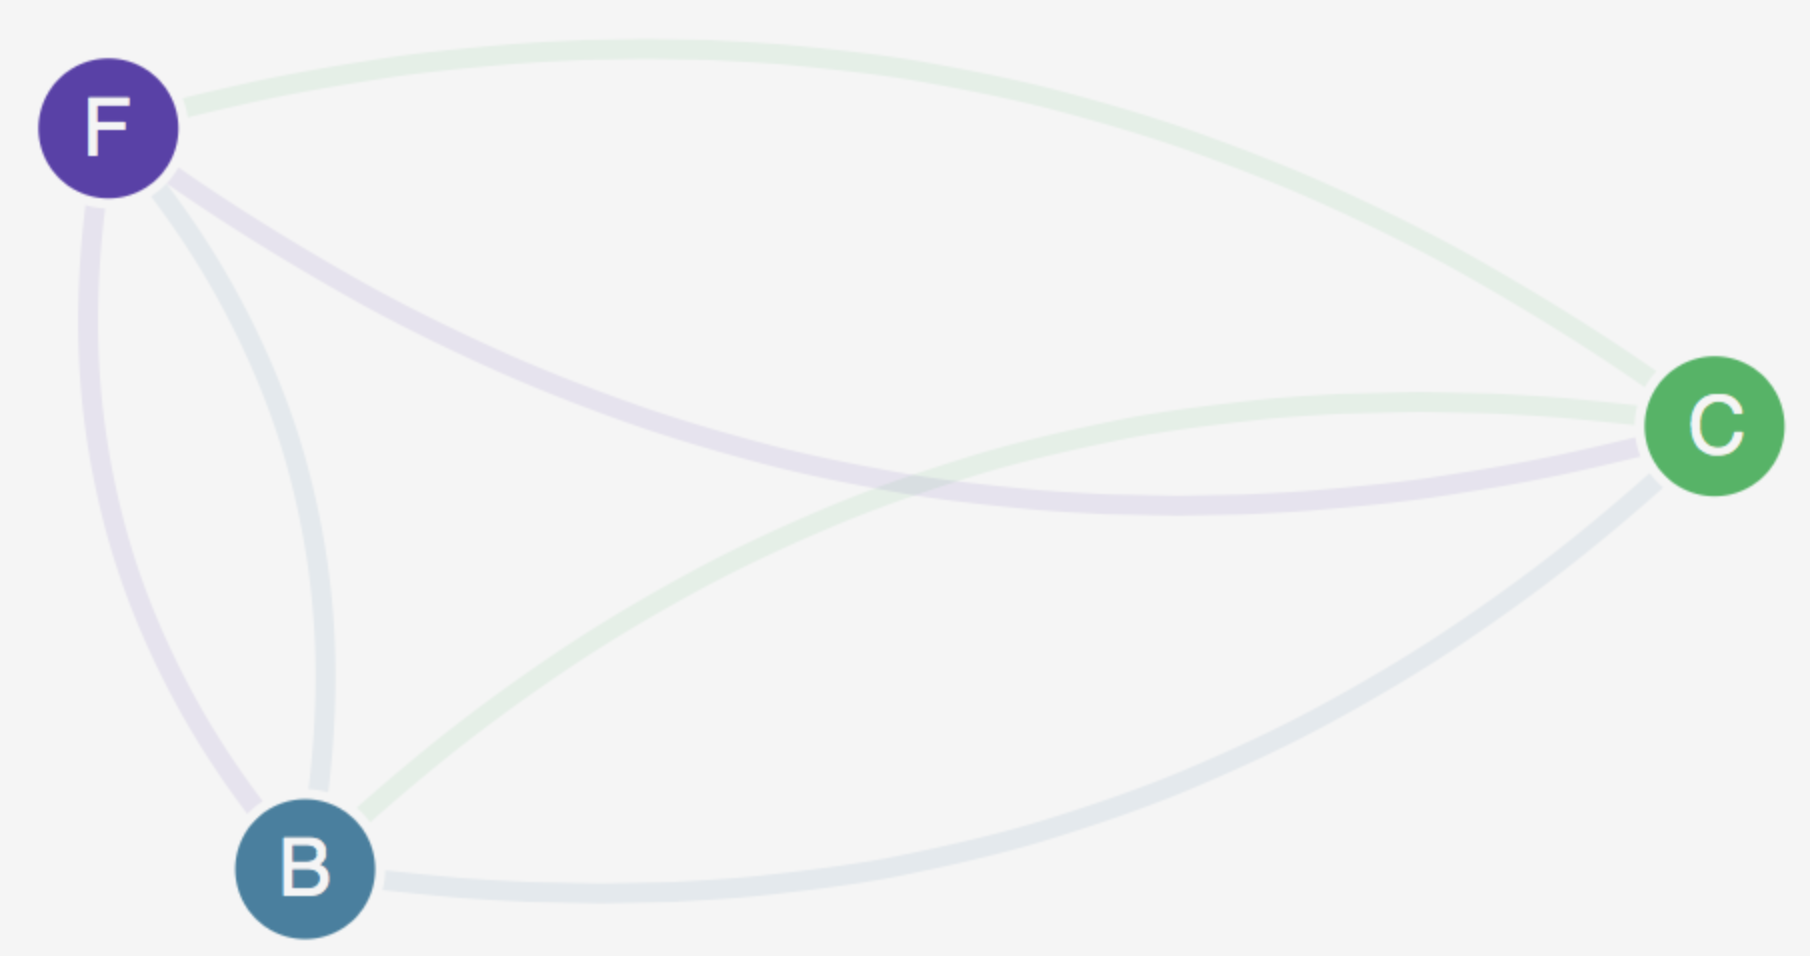
Upon refreshing your browser, you see that the management UI cannot reach any of the nodes, so nothing shows up in the UI.
Network policies in Kubernetes use labels to select pods, and define rules on what traffic is allowed to reach those pods. They may specify ingress or egress or both. Each rule allows traffic which matches both the from and ports sections.
Create two new network policies.
Copy/Paste the following commands into your Cloud9 Terminal.
cd ~/environment/calico_resources
wget https://eksworkshop.com/beginner/120_network-policies/calico/stars_policy_demo/apply_network_policies.files/allow-ui.yaml
wget https://eksworkshop.com/beginner/120_network-policies/calico/stars_policy_demo/apply_network_policies.files/allow-ui-client.yaml
Again, we can examine our file contents by running: cat allow-ui.yaml
cat allow-ui-client.yaml
Challenge:
How do we apply our network policies to allow the traffic we want?
kubectl apply -f allow-ui.yaml
kubectl apply -f allow-ui-client.yaml
Upon refreshing your browser, you can see that the management UI can reach all the services, but they cannot communicate with each other.
