Ingress
Ingress
After few seconds, verify that the Ingress resource is enabled:
kubectl get ingress/ingress-2048 -n game-2048
You should be able to see the following output
It could take 2 or 3 minutes for the ALB to be ready.
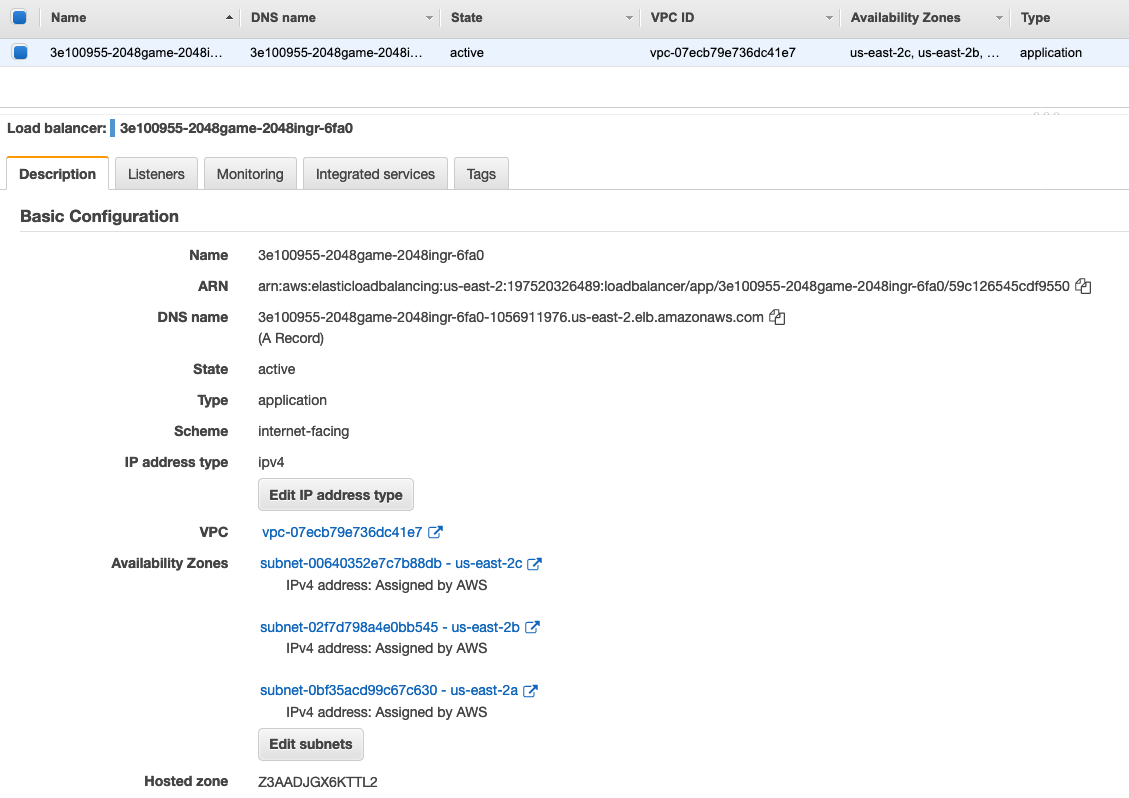
From your AWS Management Console, if you navigate to the EC2 dashboard and the select Load Balancers from the menu on the left-pane, you should see the details of the ALB instance similar to the following.

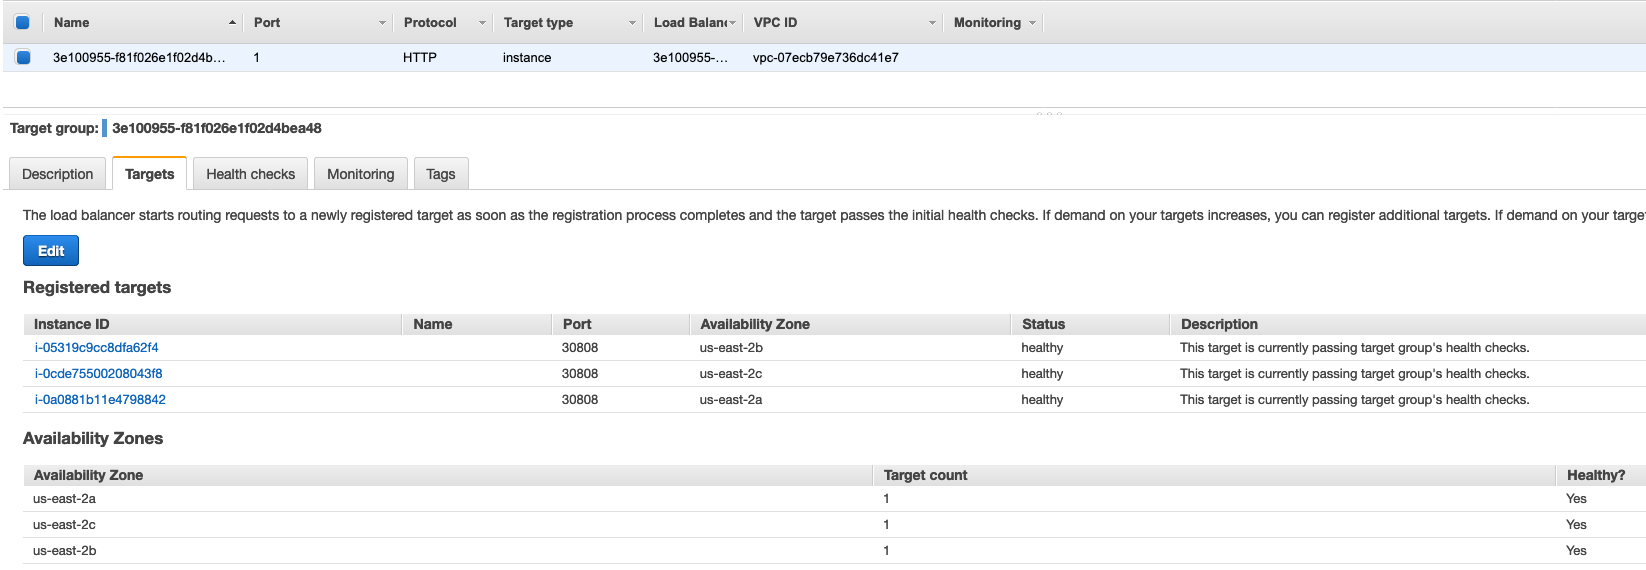
From the left-pane, if you select Target Groups and look at the registered targets under the Targets tab, you will see the IP addresses and ports of the sample app pods listed.

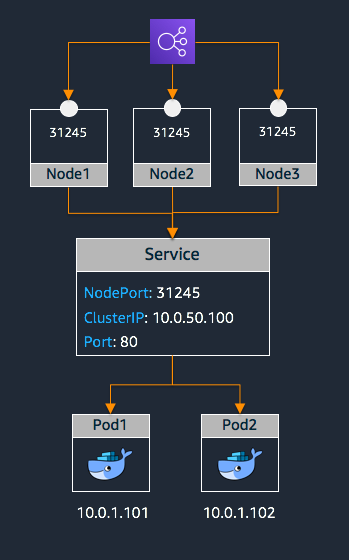
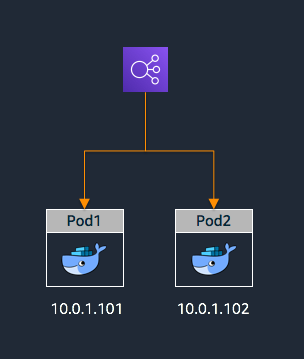
Notice that the pods have been directly registered with the load balancer whereas when we worked with worker nodes in an earlier lab, the IP address of the worker nodes and the NodePort were registered as targets. The latter case is the Instance Mode where Ingress traffic starts at the ALB and reaches the Kubernetes worker nodes through each service’s NodePort and subsequently reaches the pods through the service’s ClusterIP. While running under Fargate, ALB operates in IP Mode, where Ingress traffic starts at the ALB and reaches the Kubernetes pods directly.
Illustration of request routing from an AWS Application Load Balancer to Pods on worker nodes in Instance mode:

Illustration of request routing from an AWS Application Load Balancer to Fargate Pods in IP mode:

At this point, your deployment is complete and you should be able to reach the game-2048 service from a browser using the DNS name of the ALB. You may get the DNS name of the load balancer either from the AWS Management Console or from the output of the following command.
export FARGATE_GAME_2048=$(kubectl get ingress/ingress-2048 -n game-2048 -o jsonpath='{.status.loadBalancer.ingress[0].hostname}')

echo "http://${FARGATE_GAME_2048}"
Output should look like this
