Creating an EFS File System
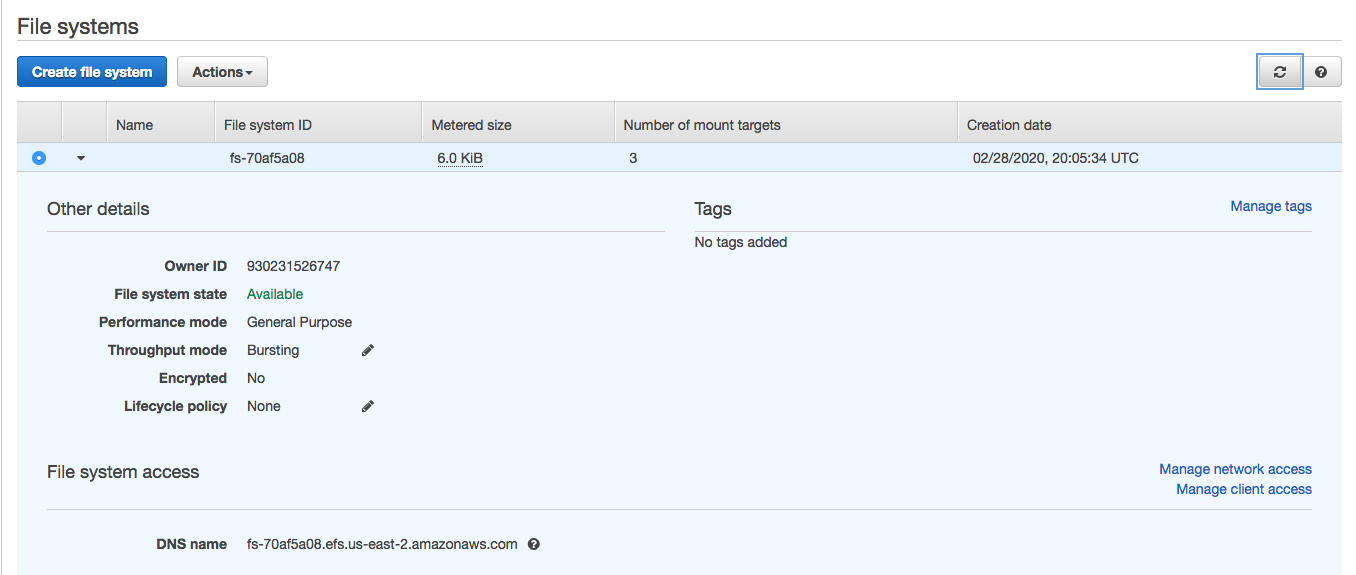
An EFS file system may be created and configured either from the AWS Management Console or using AWS CLI. An EFS file system may be accessed concurrently by worker nodes (EC2 instances) running inside the EKS cluster VPC. Instances connect to a file system by using a network interface called a mount target.
First, let’s define a set of environment variables pertaining to the name of your EKS cluster, VPC where it is deployed and the IPv4 CIDR block associated with that VPC.
CLUSTER_NAME=eksworkshop-eksctl
VPC_ID=$(aws eks describe-cluster --name $CLUSTER_NAME --query "cluster.resourcesVpcConfig.vpcId" --output text)
CIDR_BLOCK=$(aws ec2 describe-vpcs --vpc-ids $VPC_ID --query "Vpcs[].CidrBlock" --output text)
Next, create a security group to be associated with the mount targets. Then, add an ingress rule to this security group that allows all inbound traffic using NFS protocol on port 2049 from IP addresses that belong to the CIDR block of the EKS cluster VPC. This rule will allow NFS access to the file system from all worker nodes in the EKS cluster.
MOUNT_TARGET_GROUP_NAME="eks-efs-group"
MOUNT_TARGET_GROUP_DESC="NFS access to EFS from EKS worker nodes"
MOUNT_TARGET_GROUP_ID=$(aws ec2 create-security-group --group-name $MOUNT_TARGET_GROUP_NAME --description "$MOUNT_TARGET_GROUP_DESC" --vpc-id $VPC_ID | jq --raw-output '.GroupId')
aws ec2 authorize-security-group-ingress --group-id $MOUNT_TARGET_GROUP_ID --protocol tcp --port 2049 --cidr $CIDR_BLOCK
Now, create an EFS file system.
FILE_SYSTEM_ID=$(aws efs create-file-system | jq --raw-output '.FileSystemId')
Check the LifeCycleState of the file system using the following command and wait until it changes from creating to available before you proceed to the next step.
aws efs describe-file-systems --file-system-id $FILE_SYSTEM_ID
The EKS cluster that you created comprises worker nodes that are resident in the public subnets of the cluster VPC. Each public subnet resides in a different Availability Zone. As mentioned earlier, worker nodes connect to an EFS file system by using a mount target. It is best to create a mount target in each of the EKS cluster VPC’s Availability Zones so that worker nodes across your EKS cluster can all have access to the file system.
The following set of commands identifies the public subnets in your cluster VPC and creates a mount target in each one of them as well as associate that mount target with the security group you created above.
TAG1=tag:alpha.eksctl.io/cluster-name
TAG2=tag:kubernetes.io/role/elb
subnets=($(aws ec2 describe-subnets --filters "Name=$TAG1,Values=$CLUSTER_NAME" "Name=$TAG2,Values=1" | jq --raw-output '.Subnets[].SubnetId'))
for subnet in ${subnets[@]}
do
    echo "creating mount target in " $subnet
    aws efs create-mount-target --file-system-id $FILE_SYSTEM_ID --subnet-id $subnet --security-groups $MOUNT_TARGET_GROUP_ID
done
When eksctl provisions your VPC and EKS cluster, it assigns the following tags to all public subnets in the cluster VPC. The above command leverages these tags to identify the public subnets.
kubernetes.io/cluster/eksworkshop-eksctl = shared
kubernetes.io/role/elb = 1
Check the LifeCycleState of the mount targets using the following command and wait until it changes from creating to available before you proceed to the next step. It will take a few minutes for all the mount targets to transition to available state. You may also check on the status of mount targets from the EFS Dashboard on the AWS Management Console. Select the file system you just created and then click on Manage network access to see the mount targets.
aws efs describe-mount-targets --file-system-id $FILE_SYSTEM_ID | jq --raw-output '.MountTargets[].LifeCycleState'
