Amazon EKS Workshop > Beginner > Windows containers on EKS > Create Network Policies Using Calico > Install Calico on the Windows node
Install Calico on the Windows node
In this module, we will install Calico on the windows node.
List Amazon EKS cluster nodes and find the windows node.
kubectl get nodes -l kubernetes.io/os=windows -L kubernetes.io/os
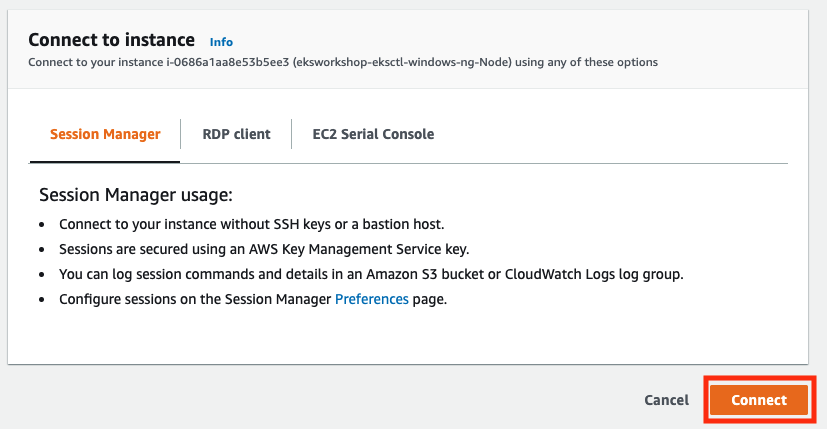
SSH into nodes using SSM via the AWS Console by finding the windows node in the list of running EC2 instances, select the instance named “eksworkshop-eksctl-windows-ng-Node” and click Connect

Then select ‘Session Manager’ and connect

This will open a new browser tab with a powershell prompt on the Node. Now we will use that Powershell window to install kubectl on the node
mkdir c:\k
Invoke-WebRequest https://amazon-eks.s3.us-west-2.amazonaws.com/1.17.12/2020-11-02/bin/windows/amd64/kubectl.exe -OutFile c:\k\kubectl.exe
$ENV:PATH += ";C:\k"
Now we will download and install Calico
Invoke-WebRequest https://docs.projectcalico.org/scripts/install-calico-windows.ps1 -OutFile c:\install-calico-windows.ps1
C:/install-calico-windows.ps1 -ServiceCidr 10.100.0.0/16 -DNSServerIPs 10.100.0.10
Verify the install
Get-Service -Name Calico*, kube*
We should get the following output:
Now we have Calcio fully installed. Close the EC2 Connect window and return to Cloud9.